Call Now and Save!
1-866-941-5112
How to Repair Chimney Mortar
Avoid water leakage by using these easy step-by-step instructions to repair chimney mortar and sloping a crown.
Materials
- Concrete
- Mortar
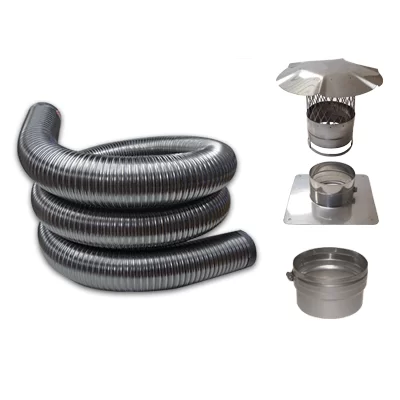
- Rain Cap
Tools
- Trowel
Highlights:
- Step 1: Prevent Chimney Leaks
- Step 2: Restore The Brick Joints
- Step 3: Install A Rain Cap
Step 1: Prevent Chimney Leaks
Mix the mortar and concrete; it should have a smooth consistency, not too dry or too soggy.
Note: Prep the area by clearing away any loose debris. When applying the concrete to the crown, slope down from the highest point toward the edges, the peak should be at the middle of the crown. The way a slope is designed, the idea being that the water sheds away from the crown.
Note: Don’t make the edge too thin. Keep it at approximately 1″ high. This prevents future detachment.
Let the concrete cure for several hours before doing any more work on the crown.
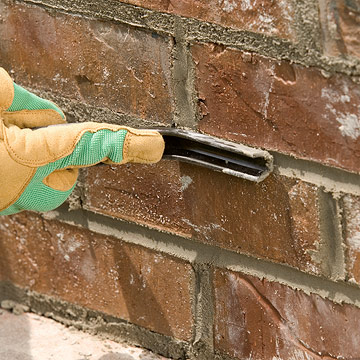
Step 2: Restore The Brick Joints
First prep the area to ensure good mortar adhesion.
Apply the mortar to the joint using a pointing trowel or a grout bag. Make sure the mortar is tightly packed each time it is applied. After the mortar stiffens a little, you will want to use a jointer to smooth out the fresh mortar. This will prevent the water from entering the joints again.
Clear away excess mortar with a soft bristle brush after the mortar hardens up further. Make sure it fills the void and stays in place.
Note: Keep the mortar churned and at the right consistency throughout the process.
Step 3: Install A Rain Cap
Install a rain cap at the top of the chimney, this prevents rain water from entering the flue. Follow the manufacturer’s instructions, they vary by the type of rain cap and/or damper that you buy. The best rain cap will cover the entire crown. It will almost any water from touching any part of the concrete crown.