Call Now and Save!
1-866-941-5112
Chimney flashing is a material, usually aluminum, which joins two surfaces. It is used to weatherproof a joint of some type such as a brick chimney and shingled roof.
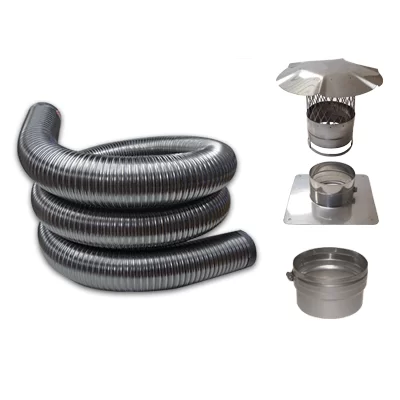
Sometimes leaking problems are solved with a chimney liner.
Although aluminum is the most typical material used, lead, tin, steel and copper are also used.
FLASHING TO PREVENT WATER DAMAGE
If you are concerned with or are having problems with the effects of the environmental elements on your chimney and roof, installing or fixing the flashing is your smartest move. Flashing will primarily protect your chimney and your roof against water damage, dirt and debris. If installed correctly, it will also provide movement between your brick chimney and the roof. This slight movement will prevent scraping of the chimney against the roof which over time will cause a much larger problem.
ITEMS NEEDED
- Hammer
- Flat bar
- Flashing material
- Pre-bent step flashing
- Silicone Caulk
- Brake
- Angle grinder with diamond blade
- Roofing nails
GETTING STARTED: REMOVING OLD FLASHING
Peel back the existing shingles from the base of the chimney. Do not remove them. Loosen them gently with the flat bar and hammer and remove old nails.
Remove all the old flashing making sure to remove all the nails. This will provide a smooth surface for installing the new flashing.
My Flashing looks good, but I am still getting leaks.
Cut a starter strip from your flashing material. This strip should be at least 10 inches longer than the width of the chimney. Starting at the lowest side and front of the chimney, bend the flashing horizontally at the same angle as the roof where it meets the chimney. The bend should be in the middle of the strip and run from side to side.
The flashing should now be cut on both sides five inches from each edge. You want to leave the bottom portion of the flashing intact so it remains flat against the roof and cut only half way down from the top to the bend line.
While placing the starter strip along the edge of the chimney, bend the cut sides down to the roof on either side. Smooth into place as you go. Do not nail your starter strip into place. No nails will be needed in the roof itself.
Replace the existing shingle back over the front of the flashing. This step will continue as you progress up the sides. Always work from the bottom up. This will provide leak proof protection.
Now you will begin to install the step flashing up both the sides of the roof. Place the pre-formed bend along the seam between the roof and the chimney. You will alternate by overlapping the shingle with the flashing all the way up the sides of the chimney. As you replace the shingles, the flashing will not remain visible. No nails should be used in the step flashing into the roof. You will only want to nail into the chimney itself.
When you reach the top edge of the chimney you will want to repeat the same procedure with the starter strip. One exception will be now you will want to cut halfway from the bottom instead of the top. Nail carefully only into the chimney and replace the existing shingles back into place.
Apply a small amount of silicone caulk just under the edge of the shingles to help seal them. The heat from the sun will do the rest. At the vertical corners, locate the areas that do not overlap. Heavily apply silicone caulk to these areas. Be sure not to leave any gaps. Allow to completely dry before replacing any siding you may have on your chimney.
Now that all the step flashing is installed you need counter flashing. Counter flashing goes over the step flashing to prevent water from leaking behind it. You will need to cut a groove about 1/2″ deep and about 2″ higher than your step flashing all the way around the chimney. It is very important that this cut is perfectly straight. After the cut is made, clean out all the dust. Now cut counter flashing with a 1/2″ break to fit into the cut and have it come down to about 1″ off of the roof. You will want to make the bend a little more than 90 degrees to keep it tight against the chimney. Dry fit everything first and bend the bottom corners around and cut off the excess on the top corners to be flush with the chimney. Then put a bead of silicone in the cut and insert the counter flashing starting at the bottom and working your way up. The counter flashing will only need a few nails to hold it all together. Then silicone all the nail heads and you are done.
Chimneys can be a major trouble spot for most homeowners. Be sure to inspect them at least once a year. Any small cracks can be sealed, flashing can be re-sealed. Waterproofing your chimney every few years with a silicone based sealer could help prevent major problems for your chimney.